How to Use Fanimation Remote Control Properly
Get ready to experience top-tier cooling performance for your home or workspace with the remarkable Fanimation remote control. Unveil a world of efficient and effective cooling tailored to your comfort needs. To use a Fanimation remote control, it’s crucial to heed the safety instructions and guidelines outlined in the instruction manual. Safety always comes first!
We’ve compiled a set of paramount safety instructions that you must adhere to to maximize your enjoyment while sidestepping potential hazards or damage. This article is your trusty guide on handling the Fanimation remote control carefully.
And that’s not all – we’re in the business of delivering comprehensive solutions. Beyond safety, we’re thrilled to equip you with a treasure trove of energy-saving insights for your ceiling fans. Discover the secrets to optimizing your energy usage while relishing the refreshing breeze. Plus, we’re not just about functionality; we’re here to empower you with the know-how on the electrical and structural prerequisites for seamlessly installing your Fanimation fan.
Energy-Efficient Use of Fanimation
Picture this: a consistently comfortable home where energy savings go hand in hand with a refreshing breeze. The secret? It revolves around properly installing and intelligent use of your ceiling fan. Buckle up – we’re about to unveil the ultimate guide to elevate your ceiling fan experience to unmatched heights.
Finding the Perfect Spot
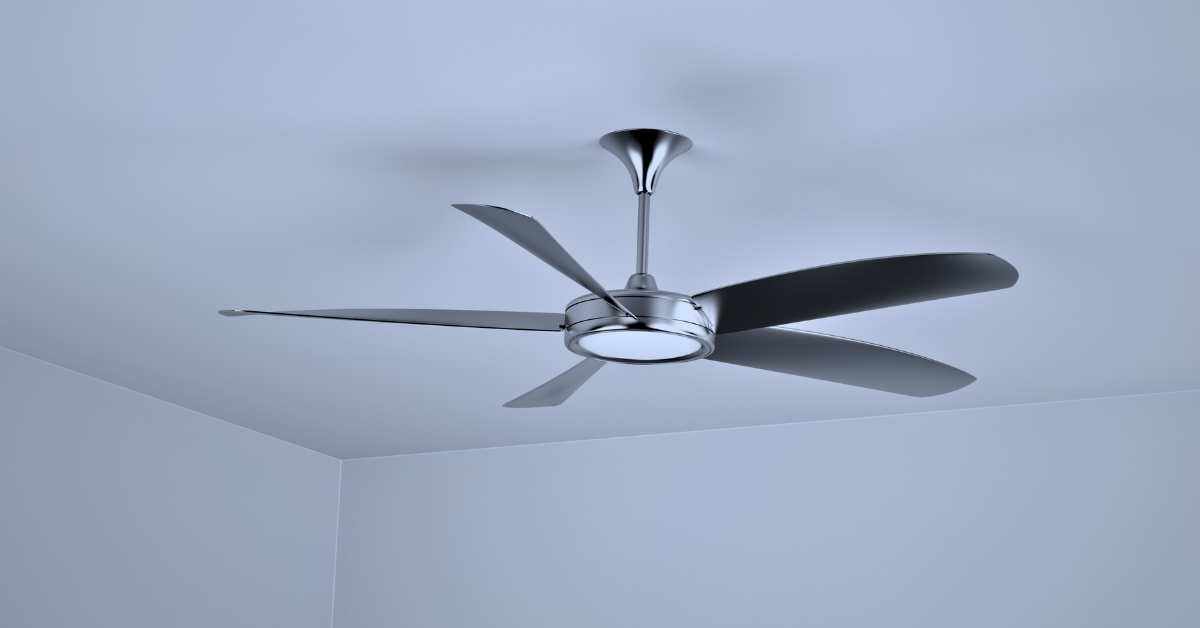
Imagine walking into a room with a ceiling fan that’s perfectly positioned to sweep you off your feet – not too high, not too close to the walls. This is no dream; it’s your reality. Install your ceiling fan smack dab in the centre of the room, ensuring it’s at least 7 feet from the floor to the blade and 18 inches from the wall. And here’s the game-changer – if you’ve got the ceiling height, aim for the sweet spot of 8 to 9 feet from floor to blade. To put the cherry on top, consult your trusted Fanimation Retailer for those nifty optional mounting accessories.
Spare Energy When It’s Quiet
You’ve heard it right – ceiling fans are all about cooling people, not empty rooms. So here’s a golden tip: When you switch off the fan, the space is unoccupied. Not only does this conserve energy, but it also saves you from unnecessary expenses. Your comfort, your call.
Unveiling Year-Round Versatility
Let’s talk seasons: In summer, ride the refreshing wave by rotating your ceiling fan counterclockwise. Feel the breeze that mimics a cooling wind-chill effect – pure bliss. Remember, the speed matters – opt for a comfortable breeze while keeping energy consumption in check.
As winter knocks on your door, the game changes. Reverse the motor, set the ceiling fan to low speed, and switch to clockwise rotation. Experience a gentle updraft that guides warm air from the ceiling to your living space—a cosy atmosphere minus the chills.
But hold on – there’s an ace up our sleeve. You’re just a thermostat adjustment away from more savings. When your ceiling fan’s in action, tweak your thermostat and welcome the extra dollars back into your wallet. It’s that simple.
How To Safely Use Fanimation Remote Control
Unlocking how to use your Fanimation remote control is a breeze – just like the cool air it delivers as an AC alternative. A few vital notes before diving in: Ensure all connections are tight and secure, and ensure those fan blades are in place before you hit the power switch. Safety and serene cooling go hand in hand.
Here’s the golden rule – don’t pair your fan with a variable wall controller or dimmer switch. Trust us, steering clear of this path avoids potential fan and remote control damage.
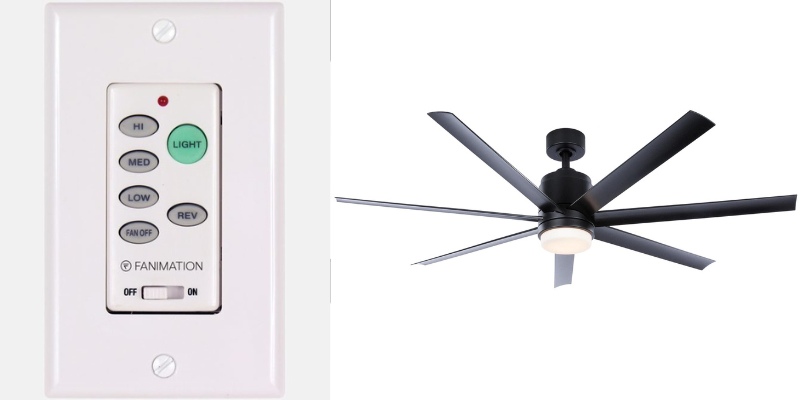
Now, the star of the show – your remote control. Insert those 3V batteries (they’re included, how convenient!), and you’re ready to roll. To bond your fan and remote, follow the simple remote code setup process. Remember, if your remote takes a nap for a while, pop out the battery to avoid any unwanted surprises.
Do you have multiple fans? Here’s your power move. Program them all to one handheld control by aligning the Dip Switch position in ALL receivers to ONE handheld. From there, it’s just a matter of following Step 1 of the remote control speed setup process. Stay within a 30-foot range for each fan – distance is no match for our expertise.
Or maybe you prefer a tailored touch? Program each fan to its handheld control by matching the Dip Switch position in both the receiver and handheld. This time, follow Step 1 for each fan’s unique handheld. A little effort goes a long way in crafting your cooling haven.
Setting the Speed
Imagine the ease of controlling your fan’s speed from the palm of your hand. It’s not a dream – it’s reality, and you’re in charge. After installation and wiring are complete, power up your fan. Then, like a conductor leading an orchestra, press and hold the “LEARN” button inside the battery compartment of your remote control. Just a 1-3 second press will do the trick.
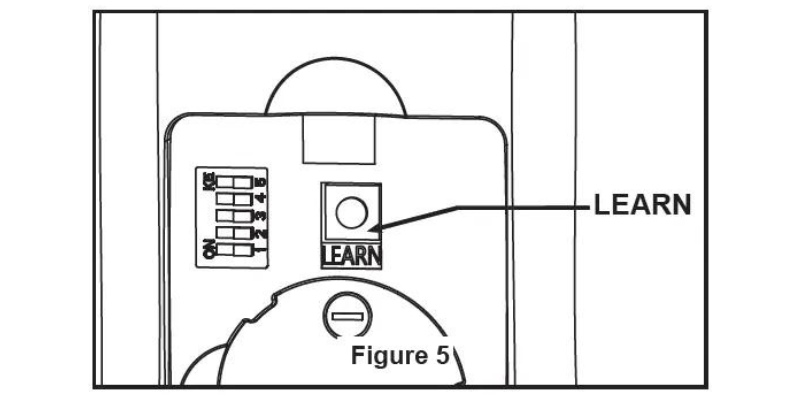
But remember, time is of the essence. Hit that “LEARN” button within 30 seconds of flipping the fan’s power switch. Pro tip: Avoid any other remote button before pressing “LEARN.” This is your ticket to a seamless setup process.
Once you’ve pressed “LEARN,” get ready for some magic. Your fan will chime with a single musical note, and the light will give a single blink (if your fan has one). The journey has begun, and your fan’s speed setup process is in full swing.
Stay hands-off during this process; pressing buttons might throw a wrench into the works. After about 3 minutes, your fan’s forward direction journey will halt. Listen for the double chime and double blink (if light-equipped) – that’s your cue that the setup is complete. Your fan is now raring to make your space as cool as you’ve dreamed.
Additional Instructions
Your Fanimation remote control isn’t just a gadget – it’s a symphony of convenience at your fingertips. Those indicator LEDs? They’re your ticket to fan speed and light-dimmer insights. Toggle the button for a swift fan power-off or hold it down for 5 seconds to control the buzzer’s fate.
And let’s not forget the heart of the matter – your fan speed. Give your fan life with an upward flick, or temper things down with a downward nudge. The light button? It’s your on-off switch for your fan’s radiant companion.
But we’re still going. Say hello to the sleep timer, your energy-conscious companion. Take your pick – 1, 3, or 6 hours, and your fan and light will gracefully fade into the night.
Home Away is more than a button – it’s peace of mind. Activate it, and the light will blink twice, assuring you it’s on duty. As you venture out, the fan takes a nap, and the light plays a peek-a-boo game, deterring unwanted attention. Whenever you’re back, press any button to break the spell.
Craving a natural touch? Fresh Air mode is your answer. Watch your fan speed mimic the rhythm of a gentle breeze, bringing the outdoors in.
And when you’re heading out, give Safe Exit a tap. A single blink from the light, and within a minute, the fan and light graciously bid farewell. Life couldn’t be more convenient.
Your ceiling fan’s capabilities reach beyond comfort – they’re designed to complement the seasons. Summer meets counterclockwise rotation, the key to a cooling downward breeze. As winter arrives, shift to clockwise rotation, ushering warm air downwards without a noticeable breeze. Versatility meets efficiency.
How to Maintain Fanimation Remote Control
You’ve got a loyal partner in your ceiling fan – and all it needs is a little TLC. Periodic cleaning is the game’s name, using only a soft brush or lint-free cloth to keep that impeccable finish intact. Abrasive cleaning agents? They’re not invited to this party – they could mar your fan’s radiant appearance.
Final Words
Curiosity is your ally, and we’re here to cater to it; How to use the Fanimation remote control.
Transforming your home into an oasis of energy-efficient comfort has never been easier. By embracing the insights provided in this guide, you’ve equipped yourself with the keys to maximize your Fanimation remote control fan’s potential while minimizing energy consumption. From optimal placement and seasonally savvy rotation to harnessing the intuitive wonders of your unit, you’re now primed to elevate your cooling experience to an entirely new level.
By choosing the right installation, using your ceiling fan judiciously, and seamlessly integrating your remote control’s functionalities, you’re not just reducing your energy bills – you’re championing a lifestyle that respects both your comfort and the environment. So go ahead and savour the refreshing breeze and the financial savings, all while basking in the satisfaction of a well-utilized and energy-efficient Fanimation remote control fan.